
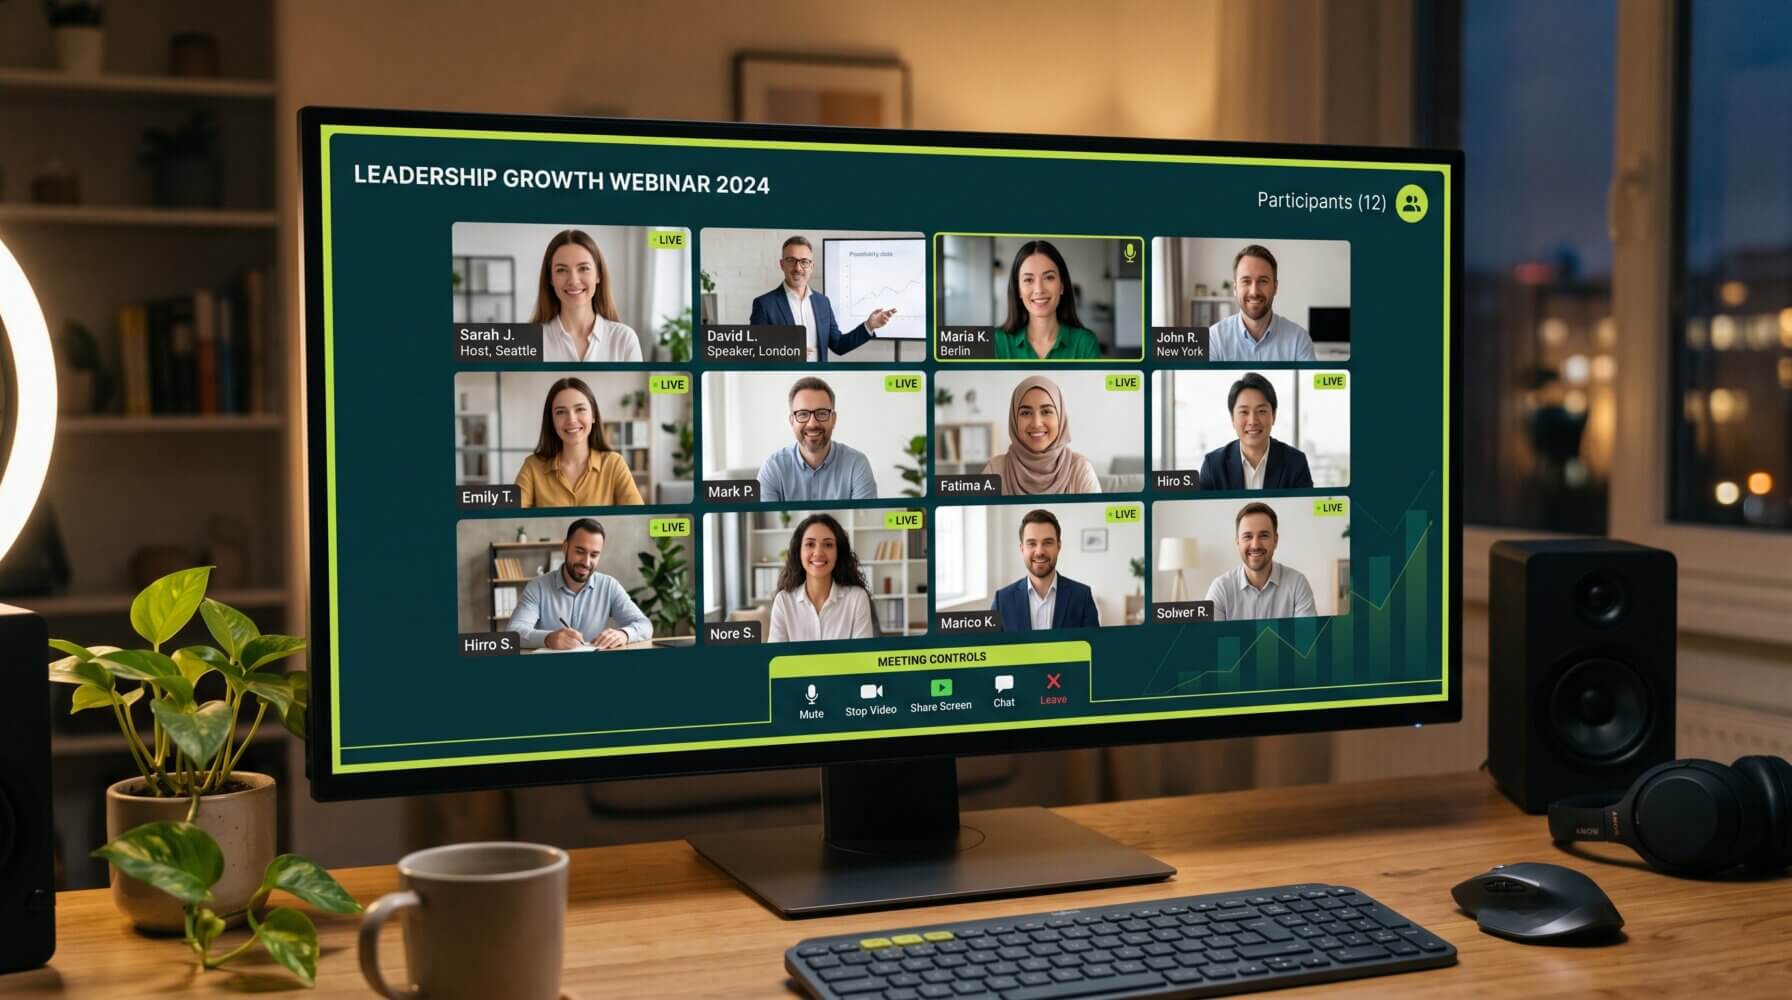
Microsoft Teams includes a built-in webinar feature that lets you host structured online events with registration, presenter controls, and attendee management. If your organisation runs client training sessions, product demos, internal briefings, or community events, Teams webinars are a capable and cost-effective solution that you likely already have access to.
This guide walks through how to set up and run a webinar in Microsoft Teams from start to finish.
What Is the Difference Between a Teams Meeting and a Teams Webinar?
A regular Teams meeting is designed for collaborative discussion where all participants can turn on their cameras and microphones freely. A webinar is more structured. Presenters control the experience, and attendees join in a view-only mode unless the presenter enables their microphone or camera.
Webinars also include:
- A registration page where attendees sign up in advance
- Automated confirmation emails sent to registrants
- Presenter-only backstage area to prepare before going live
- Post-event attendee reporting
Who Can Host a Teams Webinar?
Teams webinars are available with Microsoft 365 Business Basic, Business Standard, Business Premium, and most enterprise plans. Some features, such as advanced registration management and large audience support (up to 1,000 attendees), may require specific licences. Check with your IT administrator to confirm what your current plan supports.
Step 1: Create the Webinar Event
Open Microsoft Teams on your computer. Click the Calendar icon in the left sidebar. Click the dropdown arrow next to New meeting at the top right and select Webinar.
You will be taken to the webinar setup page. Fill in:
- Title: The name of your webinar
- Date and time: Start and end times for the event
- Presenters: Add the names of anyone who will present or co-host
- Description: A short explanation of what the webinar covers
Step 2: Configure the Registration Page
Click on View registration form to customise the registration page that attendees will see when they sign up. You can add or remove fields, require or make optional the fields you include, and customise the form with your event details.
By default, the registration form captures the attendee’s name and email address. You can add custom questions such as their company name, job title, or specific topics they want covered.
Once the registration page looks right, click Copy registration link to get the URL you will share with prospective attendees.
Step 3: Promote Your Webinar
Share the registration link via email, LinkedIn, your website, or any other channel you use to reach your audience. Attendees who register will receive automated confirmation emails from Teams with a link to join on the day.
If you are using Microsoft 365 for your email marketing, you can send the link through Outlook or any integrated email tool. For organisations that manage email campaigns, this is straightforward to incorporate into your standard outreach workflow.
Step 4: Prepare in the Backstage Area
Before your webinar starts, you and your co-presenters can meet in the Teams webinar backstage. This is a private area where presenters can discuss the agenda, test audio and video, and ensure everything is ready before attendees join.
To enter the backstage, open the webinar event from your Teams calendar and click Join. Presenters automatically enter the backstage first. Attendees join a waiting experience until you officially start the event.
In the backstage, check:
- Audio and video settings for all presenters
- Screen sharing and presentation content
- Q&A panel setup
- Any polls you plan to run
Step 5: Go Live
When you are ready to begin, click Start event. Attendees will now be able to see and hear the presenters. The Q&A panel becomes active and attendees can submit questions throughout the session.
During the webinar:
- Use the Q&A panel to review and answer audience questions, either verbally or in writing
- Use Polls to engage the audience and gather input
- Use Spotlight to make a specific presenter’s video appear prominently for all attendees
- Share your screen to present slides or demonstrate software
Step 6: End the Webinar and Review the Report
When the session is complete, click End event. This immediately ends the webinar for all attendees.
After the event, Teams generates an attendance report showing who registered, who attended, when they joined, and how long they stayed. Access this report from the webinar event in your calendar. This data is useful for following up with attendees and understanding engagement levels.
Tips for a Smooth Webinar
- Do a full run-through: Schedule a rehearsal with all presenters to test audio, video, screen sharing, and slide transitions.
- Have a backup presenter: If the main presenter has technical issues, a co-presenter can keep the session going.
- Send a reminder: Email registrants 24 hours and one hour before the event. Attendance rates improve significantly with reminders.
- Record the session: Enable recording so you can share the replay with registrants who could not attend or use it as content afterwards.
- Keep it on time: Respect your audience’s schedule by starting and ending on time.
Using Webinars for Business Development
For professional services businesses, webinars are an excellent tool for demonstrating expertise, building trust with prospective clients, and generating qualified leads. A well-run monthly webinar on a topic relevant to your target clients can become one of your most consistent sources of new business conversations.
For more information on how Microsoft 365 tools can support your business communications and collaboration, visit the Otto IT Microsoft 365 services page. If you need help configuring Teams webinars or training your team on how to run them effectively, get in touch with the Otto IT team.
Summary
Teams webinars are a powerful and accessible tool for hosting structured online events. Set up your webinar through the Teams calendar, configure the registration form, share the link, prepare in the backstage area, and then run the event with full control over the presenter and attendee experience.
If your business needs help getting the most out of Microsoft 365 or keeping your IT running smoothly, talk to the Otto IT team.
Frequently Asked Questions
How many people can attend a Microsoft Teams webinar?
Microsoft Teams webinars support up to 1,000 attendees on standard Microsoft 365 Business and Enterprise plans. Teams Town Halls, a separate feature designed for very large events, supports up to 20,000 attendees. For most business events, demos, and client briefings, the 1,000-attendee limit is more than adequate.
Can external attendees register for a Teams webinar without a Microsoft account?
Yes. External guests can register and attend a Teams webinar using any email address. They will receive a confirmation email with a unique join link and do not need a Microsoft account or Teams licence to participate. This makes Teams webinars accessible for client-facing events where you cannot control what software your audience uses.
What Microsoft 365 licence do I need to host a Teams webinar in Australia?
Teams webinar functionality is included in Microsoft 365 Business Basic, Business Standard, Business Premium, and most Enterprise plans (E1, E3, E5). Some advanced features, such as custom registration branding and green room access, require Business Premium or an Enterprise plan. Check with your IT provider to confirm which features are available on your current licence.
Can I record a Teams webinar and share the recording afterwards?
Yes. Teams webinars can be recorded during the session. The recording is saved to OneDrive and a link can be shared with registrants or made publicly available after the event. Organisers can also enable automatic recording so the capture starts as soon as the webinar goes live, reducing the risk of missing any content.
Does Microsoft Teams support closed captions or live translation during webinars?
Teams supports live captions in English and a growing number of other languages. Live translation (rendering captions in a different language for individual attendees) is available on some Enterprise plans and requires enabling in your Teams admin centre. For accessibility compliance in Australia, enabling live captions for all webinars is a straightforward way to meet obligations under the Disability Discrimination Act.
managed it support articles
Related Blog Articles
Discover more insights to optimise your business with the latest IT trends and best practices. Stay ahead of the curve by learning how to leverage cutting-edge technology for success. Explore expert advice and valuable guidance to navigate the evolving world of IT solutions