

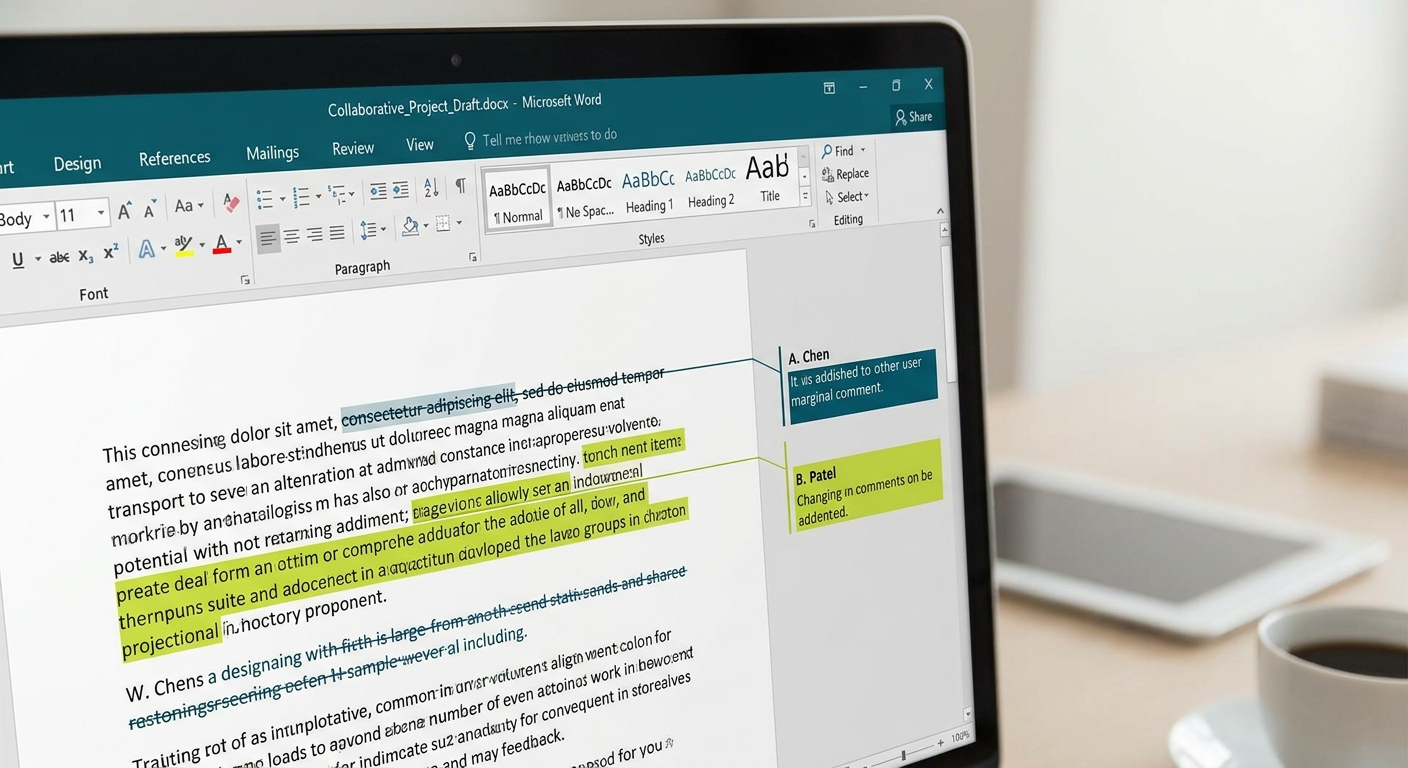
Track Changes in Microsoft Word lets every edit to a document become visible, attributed, and reviewable. When your team is collaborating on a proposal, policy, contract, or report, Track Changes gives the document owner a clear record of who changed what, and puts them in control of what stays in the final version.
What Track Changes Does and Why Teams Use It
When Track Changes is active, every insertion appears underlined and every deletion appears as strikethrough text. Each change is colour-coded by author, so you can see at a glance who made which edits. Nothing is applied permanently until someone accepts or rejects each change. This makes it safe for multiple people to edit the same document without anyone’s work being lost or overwritten without a decision being made.
For teams working on client-facing documents, internal policies, or anything that requires sign-off, this level of control is essential. It keeps the review process structured and accountable.
How to Turn On Track Changes
There are two ways to enable Track Changes in Microsoft Word.
Keyboard shortcut: Press Ctrl + Shift + E on Windows or Command + Shift + E on Mac. This is the fastest method and works in all desktop versions of Word.
Via the ribbon: Go to Review > Track Changes > Track Changes. A small indicator appears in the status bar at the bottom of the screen to confirm it is active.
To turn it off, use the same shortcut or toggle it from the ribbon. The indicator disappears when tracking is disabled.
How to Accept or Reject Changes
Once you receive a document with tracked changes, you can review each edit individually or handle all of them at once.
Reviewing individually: Click on a tracked change to select it. Then go to Review > Accept or Review > Reject. Word moves automatically to the next change so you can work through the document from top to bottom.
Accepting or rejecting all changes at once: Go to Review > Accept > Accept All Changes, or Review > Reject > Reject All Changes and Stop Tracking.
One caution here: accepting all in one click is fast, but it is easy to approve edits you have not actually read. For anything client-facing or legally sensitive, review individually.
How to Add Comments
Comments are different from tracked changes. A tracked change modifies the actual document text and requires a decision. A comment sits beside the text as a note without altering it. Comments are useful for asking questions, flagging concerns, or explaining why a change was made.
To add a comment, select the relevant text and go to Review > New Comment, or press Ctrl + Alt + M on Windows. The comment appears in the margin and is attributed to your account.
Once a comment has been addressed, you can mark it as resolved or delete it via Review > Delete. Comments are not removed when you accept or reject tracked changes, so make sure to clear them separately before finalising a document.
Simple Markup vs All Markup
Word gives you control over how tracked changes appear on screen. You can switch between views in Review > Tracking > Display for Review.
All Markup shows every tracked change in full detail. Deletions appear as strikethrough text, insertions are underlined, and everything is colour-coded by author. This is the view to use when you are reviewing changes and deciding what to keep.
Simple Markup shows a cleaner version of the document with a vertical bar in the margin where edits were made. The document reads as it will look if all changes are accepted. Click the bar to expand and see the full markup in that section.
Simple Markup is helpful when you want to read the document for flow without the visual noise of every edit on screen.
How to Compare Two Versions of a Document
If someone sends you an updated document without having used Track Changes, you can still compare the two versions side by side.
Go to Review > Compare > Compare. Select the original document and the revised document. Word generates a new document that shows all differences displayed as tracked changes. This is a reliable fallback when a collaborator forgot to enable tracking before editing.
Track Changes in Word for Microsoft 365 Web
Track Changes is available in the Word web app, though with a slightly simplified interface. To enable it, open the document in Word for the web and go to Review > Track Changes. Changes appear highlighted as you type, and you can accept or reject them and add comments directly in the browser.
The Compare function is not available in the web version. If you need to compare two document versions, open the file in the desktop application.
How Copilot Helps with Track Changes
If your team uses Microsoft 365 Copilot, it adds a useful layer on top of the standard Track Changes workflow. Copilot can summarise all changes made to a document and explain what was altered and why, based on the content and any comments left by reviewers.
It can also suggest whether to accept or reject specific edits based on the document’s purpose. For example, if a document is a client-facing proposal, Copilot can flag edits that weaken the tone or remove important detail. This works best when collaborators leave comments alongside their tracked changes to give Copilot enough context to work with.
Common Mistakes to Avoid
Forgetting to turn off Track Changes before sending. If you accept all changes and tidy up the document, but leave Track Changes active, every edit you make during your cleanup will be tracked and visible to the recipient. Always check the status bar before saving and sending.
Accepting all changes without reviewing. One click is fast, but it removes the safety net. Take the time to step through changes individually for any document that carries risk. Contracts, policies, and client proposals all fall into this category.
Frequently Asked Questions
Can I see who made each change?
Yes. Every change is attributed to the Microsoft 365 account of the person who made it. Hover over a change to see the author’s name, the date, and the time it was made.
Does Track Changes work across Mac and Windows?
Yes. Track Changes is fully compatible between Word on Mac and Word on Windows. Changes made on either platform are visible and manageable on both.
Can I lock Track Changes so others cannot turn it off?
Yes. Go to Review > Protect > Restrict Editing and set a password to enforce Track Changes for all editors. This is useful when you need to ensure a full audit trail.
What happens to comments when I accept all changes?
Comments are not affected when you accept or reject tracked changes. You need to delete them separately via Review > Delete > Delete All Comments in Document.
If your team wants a more structured approach to document collaboration in Microsoft 365, we can help with setup, training, and the right configuration for your workflow. Book a quick call with our team or get in touch via our contact page to get started.
managed it support articles
Related Blog Articles
Discover more insights to optimise your business with the latest IT trends and best practices. Stay ahead of the curve by learning how to leverage cutting-edge technology for success. Explore expert advice and valuable guidance to navigate the evolving world of IT solutions